Quick & Easy DIY Halloween

Oh my goodness, I am sad. Halloween is one of my faves, and I always love dressing up. But this year, all of my ideas from cute (pumpkin) to downright cheeky (sixteen and pregnant in a cheerleading uniform) fell flat. With 24 hours left and absolutely zero drive to sew, assemble, purchase, or otherwise source a costume, this mama-to-be if officially opting out and planning to park a bowl full of candy outside the front door.

unnamed-4

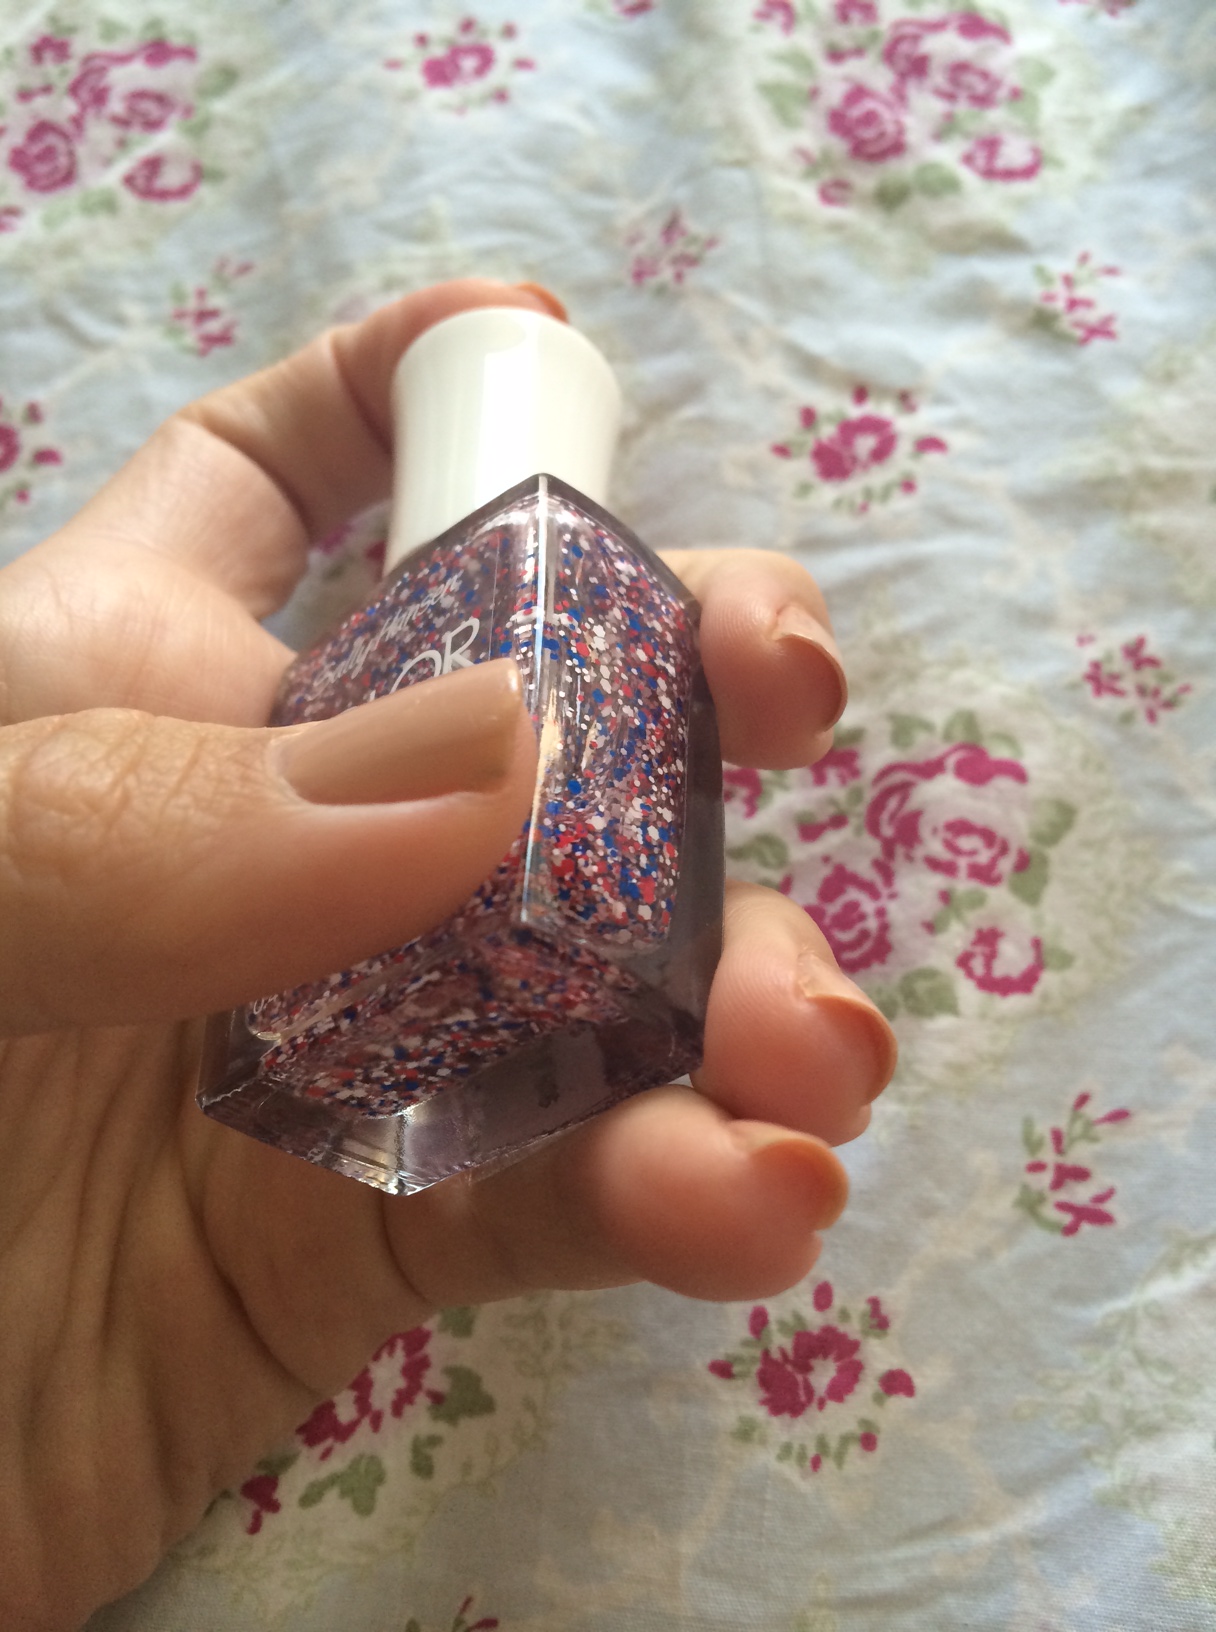
I did manage to give my nails a nice vampy look for the weekend!

preg

…And I thought about getting a witch’s hat and wearing this — I’d just a Pregnant Bitch. Maybe it wasn’t the friendliest idea ever…

I’m sure that all of you pretties have your selections made and are getting pumped for a fab night on the town. While I suck down a caffeine-free Diet Coke and munch on the Reese’s I stole from the Trick-or-Treat stash, dressed in all black, I thought I’d share some fun inspo from around the web.

d478038d2d854e243adcc63b6d111f59

Love, love, love this. So utterly chic and simple. His outfit is great, too. If you’re having friends over for cocktails, you can create this serving look by coating dollar store trays with chalkboard paint and voila!

9a8d4af956a0abf034971ca5af1e66c6

A super-shiny nail lacquer in blackest black with two creepy little eye balls? So fun. And easier to create than you think. Dab white polish on with the end of a pen, then black inside with a toothpick. Done.

cf0304e7f9664b3204f899a5d26dd927

Loving all those gorgeous painted and stenciled pumpkins you’ve seen on Pinterest lately? Yeah, me too. But that was not going to happen in my house this year. Instead stack some minis in glass canisters and call it a centerpiece. You can also send guests home with one as a party favor. Cute!

5e051836817dd7000cab331348eca5d2

This hairstyle is solid proof that the cutest statements are often the simplest. Check out SimpleAsThatBlog.com for the how-to deets on this creepy-crawly bun.

Star Spangled Beauty Routine

As you may be aware, the Fourth of July is a big holiday around here. It was always my favorite growing up, and it’s also the anniversary of the first vacation Josh and I ever went on together — a long weekend getaway to Newport. A few years later, he planned his totally romantic, surprise proposal accordingly, popping the question on a California beach at sunset July 5, 2012. This Saturday will mark two years since that magical moment, and I feel like everything has gone at warp speed ever since. And yet, if I close my eyes I can picture it like it just happened.

1937363_533400354295_3510720_n

July 4, 2009 when I realized my unending love of oysters… and Joshua.

In order to celebrate this beloved patriotic holiday and a slew of anniversaries for us, Josh and I are packing up the dog and heading North to Connecticut for a few relaxing days at my brother Jacob and sister-in-law-slash-best-friend Pookie’s house. We’re looking forward to steaks on the grill, lots of wine for Josh, and great conversation. I couldn’t be more excited. And while I’m trying to figure out what of my red-white-and-or-blue wardrobe flatters the tiny 5-month bump I’m sporting these days, one thing is for sure: whether we venture out of their backyard at all this weekend or not, my makeup is going to be on point.

1001361_742565086495_1128411069_n

July 4, 2013 in Dallas. We totally rocked the red, white, and blue.

It is my belief that while pregnant, two things that can always make you feel better are a well made face and a fun manicure. I’m off sushi and soft cheese, lunch meat and eggs over easy, margaritas, anxiety meds, and even sleeping on my back. But makeup? No rules against that. Let’s play!

photo 3 (1)

Red lipstick is an absolute July 4th must for me, especially this year as it looks like I’ll be wearing a white sundress. To shoot this awesome stick from NYC Color, I just threw on a blue and white tie dye tank to give you the idea of what a perfect shade it is. Josh is not typically keen on red lipstick, but he does love this one. And at only $1.99 a stick (yes, you read that right) with hours of staying power, it is a serious no-brainer. I’m obsessed. Available at drugstores and Target nationwide. Click here for more information.

lipsAnd then there is the fab DIY manicure, courtesy of Sally Hansen. I cannot get enough of their new Color Frenzy polishes, which I used in Red White & Hue for my perfect Independence Day nails. Since this polish offers fragments of color but no glitter, I wanted to keep the look subdued and chic accordingly. To make sure that the white dots popped just as much as the other colors, I applied it over two coats of my favorite nude polish, New York Color’s QuickDry nail polish in Fashion Safari.

photo 2 (3)This magical polish is available at chain drug stores, food stores, and mass merchandisers nationwide. I think I might pick one up for my sister-in-law, too. She’s not a major nail DIYer, but this is one bottle every girl needs in her cabinet. $5.99 each.

nails44 nails4good

The DIY Manicure: Just Say Yes

I was meeting with some beauty editors on a project a few years ago and one of them asked for an example of a beauty hack I strongly believe in. My response was that I do my own nails — religiously. The women looked at me, mouths agape, then turned to look at each other, then back at me, and both replied incredulously, “Really??” Well, I was 25 and broke as a joke, living off an assistant’s salary but doing the work of a senior staffer. Any money not allotted for rent or my MetroCard went, naturally, to wine. So, yes, I started doing my own nails out of necessity and then it became an important ritual.

IMG_3812

I don’t like to play favorites with my polishes, but Essie’s Lilacism will continue to be my everything — for evermore.

Nowadays, the self-mani is not as much of a shocker. Bloggers like Emily of Cupcakes of Cashmere are self-described nail-DIY’ers, and Lauren Conrad of MTV reality fame has been quoted as saying she does her own nails every night. I’ve blogged before about some of my favorite techniques for getting it right. But lately I’ve noticed with summer humidity reaching staggering levels, I’ve been tackling bubbles. And with my business and social calendars piling up on top of each other, those lazy Saturday mornings I used to spend allowing thirty minutes for each coat to dry are a thing of the past.

IMG_3575

The key to making your mani look professional is to layer on an extra coat — and then double-up on your topcoat. Megawatt shine will be yours!

In honor of my favorite day of the week, #manimonday, I thought I’d offer up some tips on the best fail-proof polishes for achieving the look you want. As well as some really sad news that we might as well get out of the way now: if your bottle is over a year old and you haven’t been storing it in a cool, dry place, there’s a good chance you’ll have to send it to polish heaven this summer. RIP my Essie Pink Parka and CHANEL Azure. You will be missed. Now onto some summer favorites for you to try at home!

mauve

Julep’s wedding collection includes this dynamic duo (now on sale for $19.99 for the pair) — the creamy one is great for everyday and the shimmer adds something special. These go on nice and thick for full coverage without bubbling up. Julep.com.

NMC1LSZ_mx

If you’re not a seasoned DIYer, a hint of glitter can mask a less-than-perfect application. Deborah Lipmmann’s polishes are famous for staying power, and I find they glide on easier than any other brand. La Vie en Rose nail polish, $18, neimanmarcus.com.

tomford

Tom Ford’s nail lacquers are as luxurious as his clothes. My gold TF pedicure lasted from a week before our wedding until several days after our two-week honeymoon. The color is well saturated and high-end. Two happy thumbs up for this muted coral, too. Tom Ford Beauty nail lacquers, $32 each, saksfifthavenue.com.

Shine On

A series of gray days left me feeling lackluster. A bottle of glittery polish brought back the shine. When you first got your bling thing, I imagine you felt compelled to get manicures that showed it off and were neutral and ladylike. Eventually you’ll travel back to the fun. Before your big day, a little glitter never hurt anyone. If you’re not up for full-on sparkle, let me introduce you to my favorite glitter hack:

photo

Base color in a creamy pastel. Two coats. Diagonal stripe of chunky glitter. Top coat. Done. This lasts up to a week when you DIY it, and you do not need to get it anywhere near perfect in order for it to work. I can’t tell you how many compliments I’ve received so far this week — and it’s only Wednesday.

My colors of choice: Essie’s Go Ginza (base) and A Cut Above (glitter), $8 each, drug stores.

Manicure, Manicure, please freakin’ last!

When I called my little brother to share the engagement news, the first words out of his mouth were, “Well, that gel manicure really paid off!” A bit of a WASP but with plenty of Jew running through his veins, this was just the type of response I should have expected from the kid. After all, right before our trip I spent about two days debating whether I should pony up the $50 to get a proper gel manicure that would last and look lovely in photos. Had I known what was coming, of course I wouldn’t have labored over this decision so intensely. In the end, it was worth it when I blasted the obligatory ring photo on Facebook and didn’t have to be embarrassed about my nails–even after three days of excessive typing and cleaning pre-departure, and two on the beach in Cali pre-engagement.

Gel manicures look better than regular ones, hands down. It’s just a fact. But they’re expensive and they can damage your nails if not used in moderation, so they are not a bi-weekly option. The week after I returned, I was already bored with the bright pinkish-coral gel I had for the engagement, and I went to a beauty event where manicures were being offered. Rather than soak off the gel polish (a long and arduous process), I decided to have the girl paint right over it with a lovely opaque Essie purple. Brilliant! My nails looked gel-worthy at the mini-engagement party, and I hadn’t spent a dime.

There’s my original $50 manicure in its full glory; baby bro was right–it paid off!

Then, I had this lovely Essie shade, “She’s Picture Perfect,” painted right over my existing gel mani to switch things up. Looked really pretty!

But what next? Now I had seven coats of polish on my nails–four gel and three regular including bases and tops–and the nails were growing. And the purple was chipping. And this was not a look fit for my ring. Oh, my ring. You deserve the best. You deserve a beautiful nail look that is sweet, simple, maybe a little creative. But, in addition to finding myself on several new “things” since becoming a bride-to-be (on a wedding diet, on a wait list–or ten), I am now also on a budget. Damn it! Time to get crafty.

Step One was to soak off with acetone the top layers of regular polish and as much gel polish as possible in five minutes or less per nail (this stuff can burn after a while). Once soaked, each nail got scraped so excess polish went into the trash.

Step Two included a second soaking in acetone following by more scraping. And then a full cutting, shaping, buffing, and cuticle push-back. Then, I tried something new. Since he bought the rock and since I really want it shown off in a way that makes him happy when friends and family continue these initial viewings, I let him pick the polish. I was in the mood for pastel–I gave him a choice between Bikini so Teeny (light blue) and To Buy or Not to Buy (light pink/beige). His response? “Hunzy, I like red.”

So, red it is! Three coats on my newly long (gel polish makes them grow!) nails. And hey, if the fiance is happy, I am too.